Well I would like to announce that this is my first sewing tutorial ! I'm rather excited .
I chose an easy start a little needle case, and you don't have to use the sewing machine. Lets start shall we.
Firstly you will need,
- outer fabric
- padding fabric
- inner fabric
- felt for sheets
- optional decorations such as buttons
- cotton, scissors, paper.
I made my pattern up by folding a letter in half making an A5 rectangle shape. I ten cut each of the fabrics, outer, inner and padding to size.
Note on padding, I have used a little of an old blanket, anything would do!

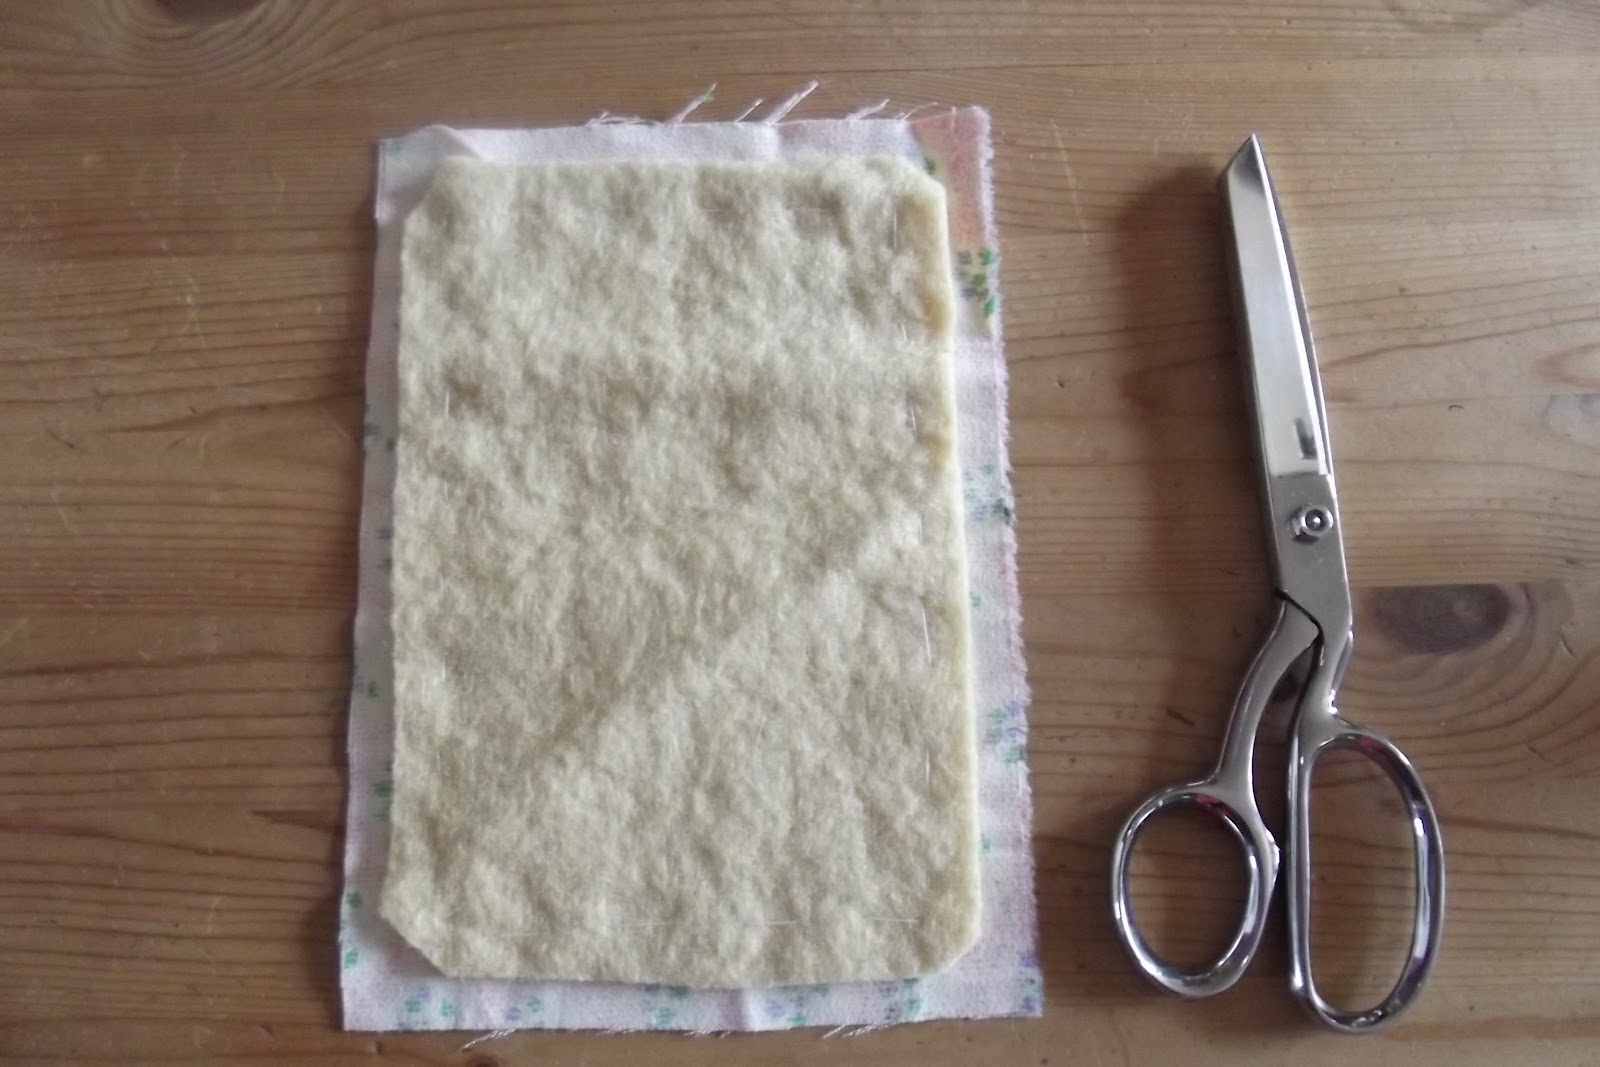
Then tack the padding to the inner fabric, a good 2.5 cm in.

I then trim the padding all the way round. This is so that when we sew our case up it isn't too bulky.

Putting that to one side I then find the outer fabric and fold it half. I place two squares of inner fabric on the front.
Note :not to close to the edge as we have yet to sew it up!

I then place a slightly smaller square of my padding (or either plain fabric, a felt would be ideal) on top of the larger square.

To shape the smaller square I cut away at the corners

Then cut again along the edges.

I then place a button in the middle of each square and sew into place.

Now we are ready to construct the case. Putting right sides together sew along three sides.


Turn inside out, giving a little extra push into the corners.

Now what I consider the most fiddly bit. Folding in and pinning down the raw edges. Once I start though I continue all the way round the case. To be quiet sure I then go around again , this time even closer to the edge.


Well it should be looking pretty good, we are nearly there! cut your felt with pinking sheers if you prefer, size a little smaller than the case.Then sew into place.

And here we go! A cute little needle case.


I was really pleased with the finished product, it really is amazing what you can make from scraps. I was glad to use a nicer vintage peace of the inner along with denim for the outer! But you can play around as much as you like, that's the beauty of all these pin cushions and needle cases.
